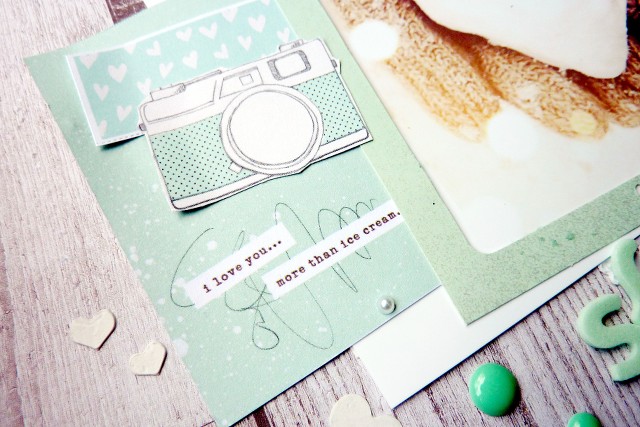
Freitag, 31. Januar 2014

* Love you s(n)o(w) - Dani Peuss Februarkit *

10 Kommentare
Hier ist mein erstes Layout mit dem Februarkit von Dani Peuss. Das Kit enthält wunderschöne Papiere in Pastelltönen aus der Derár Lizzy Kollektion Polka Dot Party.

Here comes my first layout with the February kit from Dani Peuss. The kit contains lots of lovely papers in pastel colors from Dear Lizzy Polka Dot Party collection.


Die Herzen im Hintergrund sind mit Schablone und Strukturpaste gemacht.Außerdem habe ich ein kleines Wortspile und etwas Handarbeit untergebracht. :)

The hearts in the background are made with a template and modeling paste. I also played a bit with words and added some stitching.


Material/Supplies: Cardstock (Dani Peuss), Patterned Paper (American Crafts Dear Lizzy), Alphas (American Crafts) , Schablone/Template (Heidi Swapp), Strukturpaste/Modeling Paste (Liquitex), Enamel Dots (My Minds Eye), Farbspray/Color Mist (Studio Calico), Twine (Garn & Mehr)

Mittwoch, 29. Januar 2014

* Background Tutorial - Aquarellfarbe / Watercolors *

6 Kommentare
Ich hatte letztens dieses Layout mit Aquarell-Hintergrund gezeigt.
Dazu habe ich eine Step by Step Anleitung gemacht, die ich heute zeigen will.

Recently I posted this layout with watercolor background.
I made a step by step tutorial which I want to show you today.

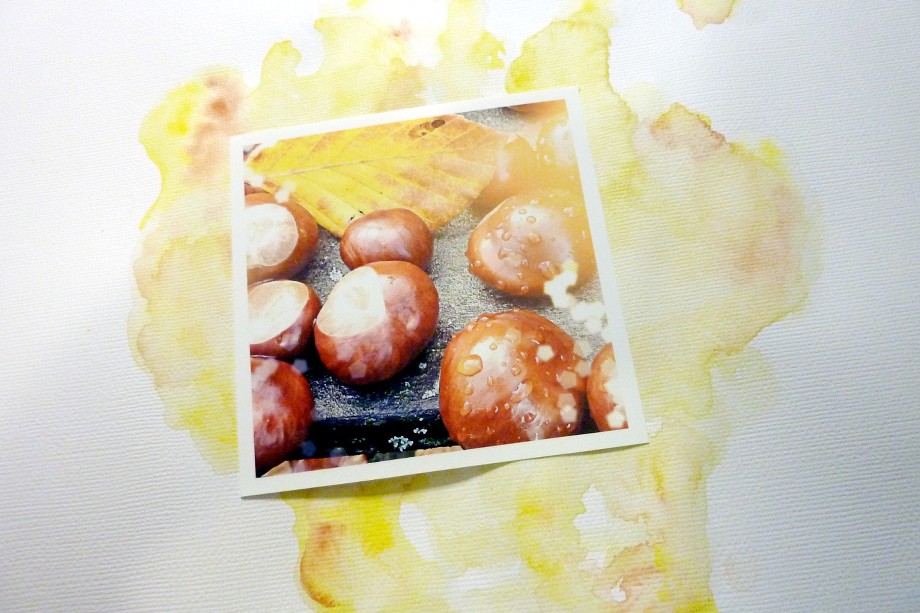
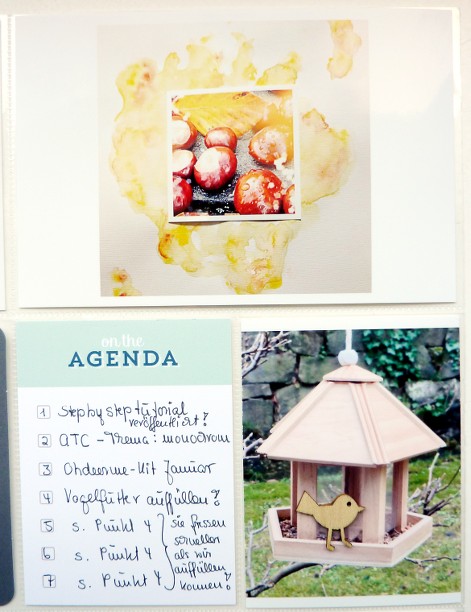
Dieses Foto soll aufs Layout:
This is the picture for my layout:


Dazu  möchte ich einen farblich passenden Hintergrund gestalten.

I want to create a background in matching colors.


Los geht es:
Let's get started:


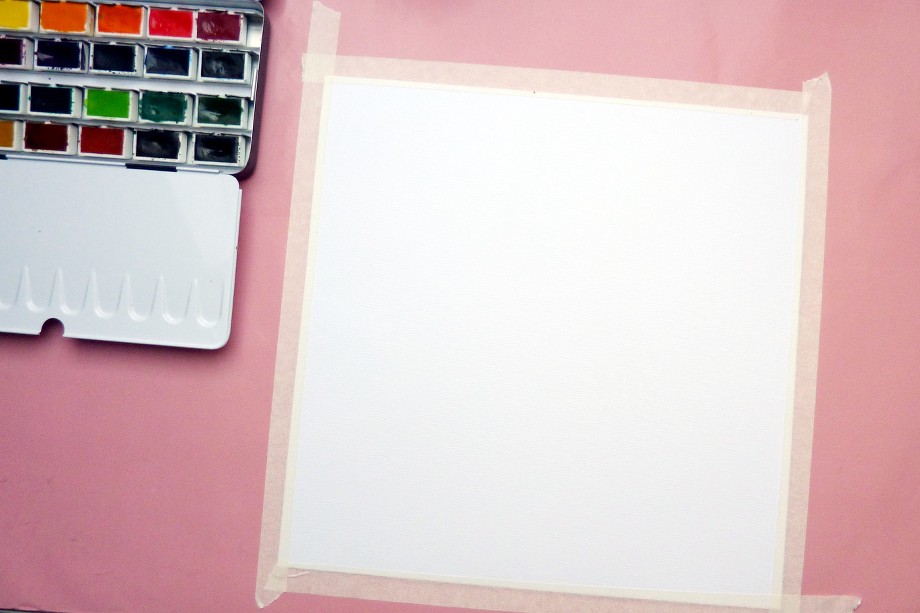
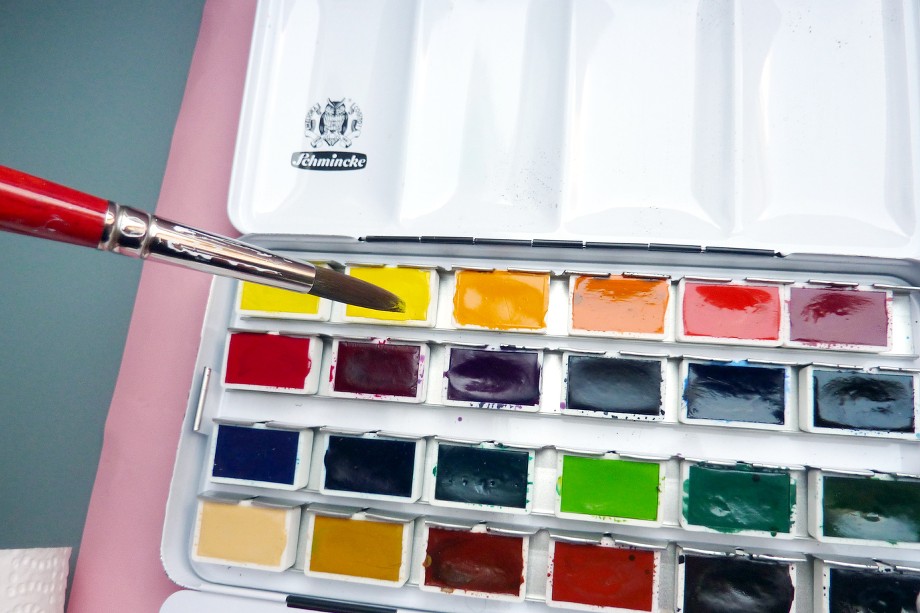
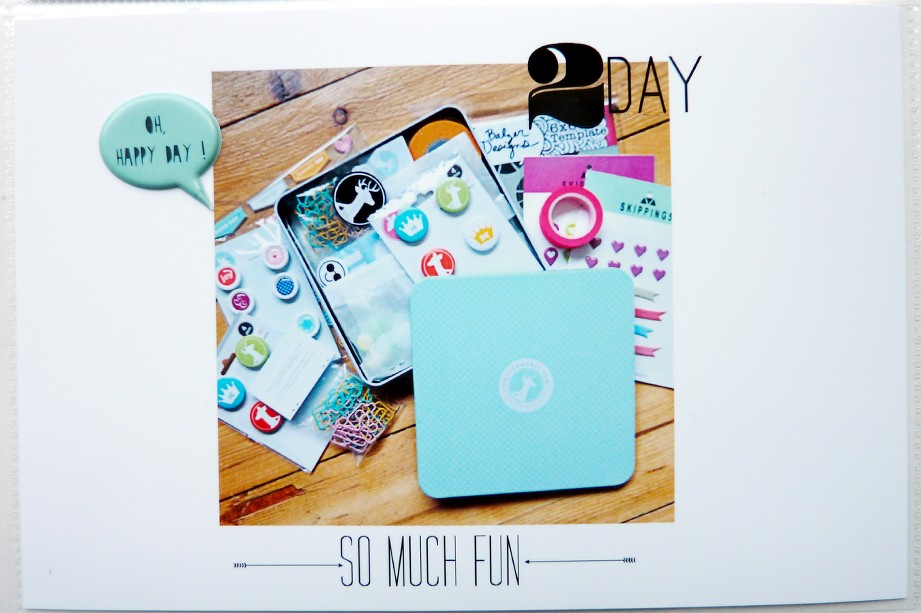
Wir benötigen/ we need:

Cardstock
Malerkrepp / Painter's Masking Tape
Wasserfarben / Watercolors
Wasser / Water
Pinsel (nicht zu dünn) / Paint Brush (medium)


Zuerst den Cardstock mit dem Malerkrepp auf der Arbeitsfläche befestigen.

Adhere the cardstock on your craftsheet using the masking tape.


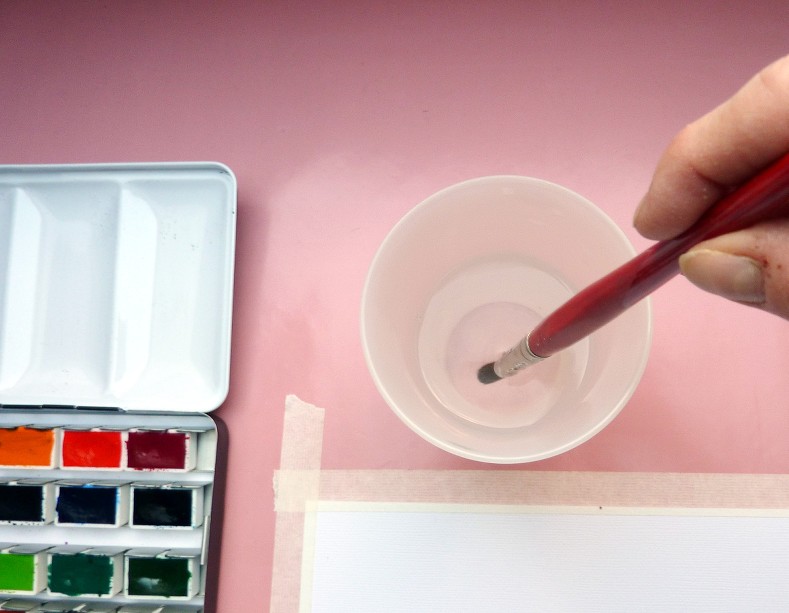
Mit dem Pinsel reichlich Wasser aufnehmen...

Pick up water with your paint brush...


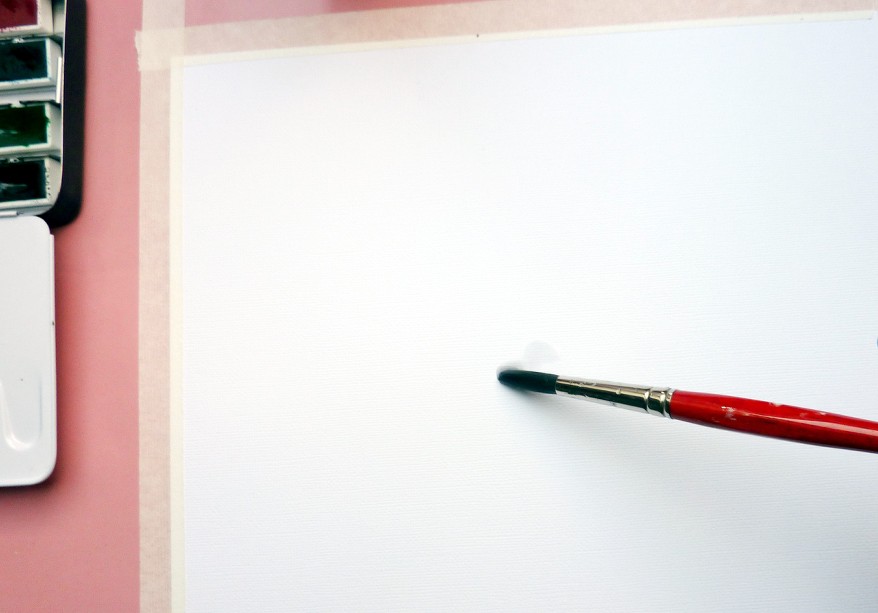
...und auf den Cardstock auftragen. Es ist wichtig, die Fläche die nachher eingefärbt werden soll gut zu befeuchten.Das ist wichtig, weil die Farbe später verlaufen und ausblühen soll und damit der Hintergrund nicht wie angestrichen wirkt. Dabei den Bereich nicht durchgehend befeuchten, sondern auch mal klecksen.

...and apply it on your cardstock. It's necessary to apply enough water so that the colors can run and bleed .Don't moist the entire area. Let the water also drip on your paper. That makes that the background doesn't look painted in the end and gives it the typical watercolor look.


Es dürfen ruhig kleine Pfützen entstehen.

Can you see the small puddles of water on my paper?
That's what we want to have.


Nun mit dem Pinsel ein wenig Farbe aufnehmen. Besser weniger, als zu viel. Man kann immer noch Farbe zufügen.

Pick up a bit ofcolor with your paint brush. Not to much. You can add more color later if necessary.


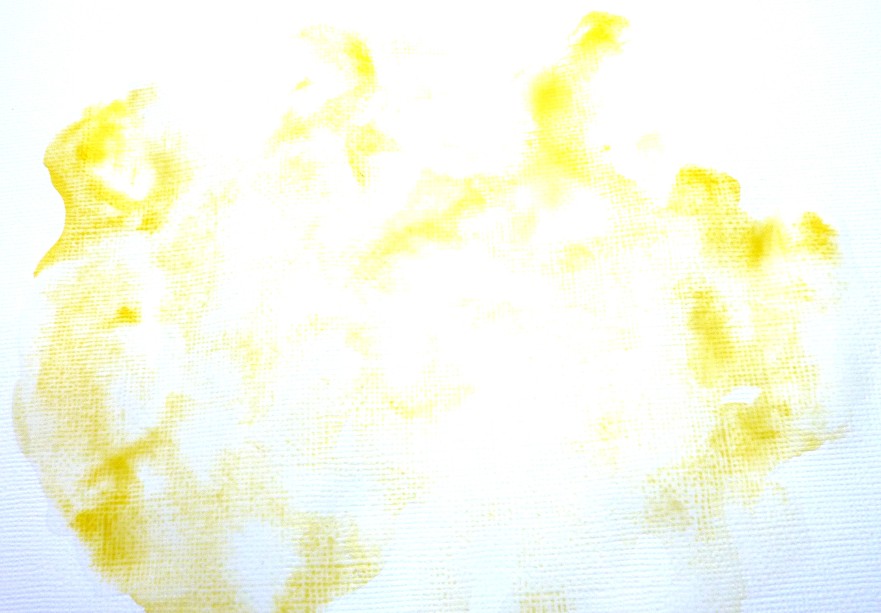
Die Farbe nun in das Wasser fließen lassen. Nicht malen, nur den Pinsel auftupfen und die farbe verlaufen lassen. So entsteht der typische Aquarelleffekt.

Let the color melt into the water. Don't paint. Just dip your paint brush on your paper and let the color run. So you get the typical watercolor effect.


So soll es dann aussehen.

That's how it should look like.


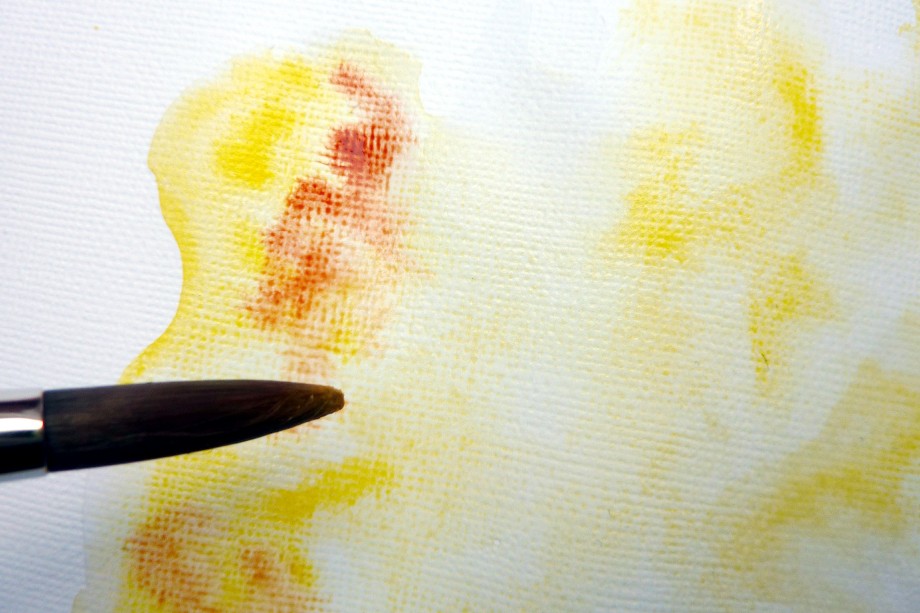
Jetzt mit dem Pinsel die zweite Farbe aufnehmen...

Pick up another color with your paint brush...


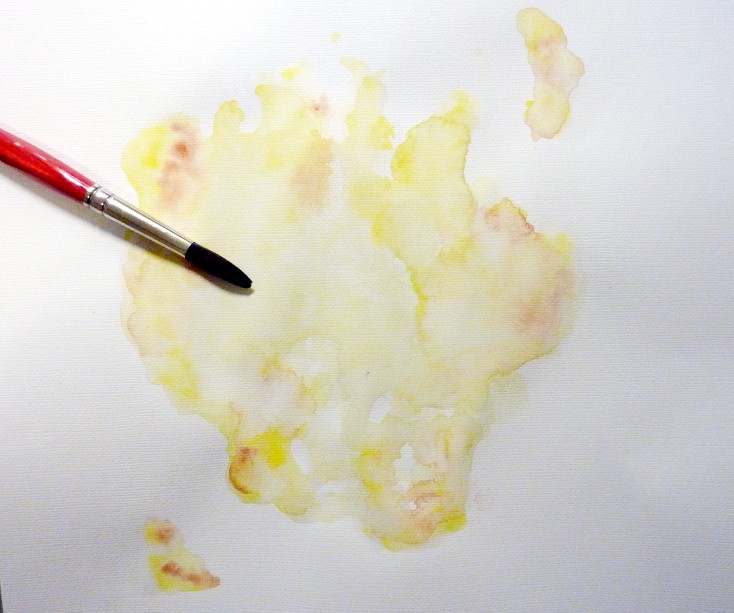
... und in die noch feuchte gelbe Farbe fließen lassen.

...and let it melt into the wet yellow color.


Trocknen lassen oder mit dem Heißluftföhn trocknen, Klebeband entfernen - fertig.

Let dry or dry with a heat tool, remove the masking tape - done.
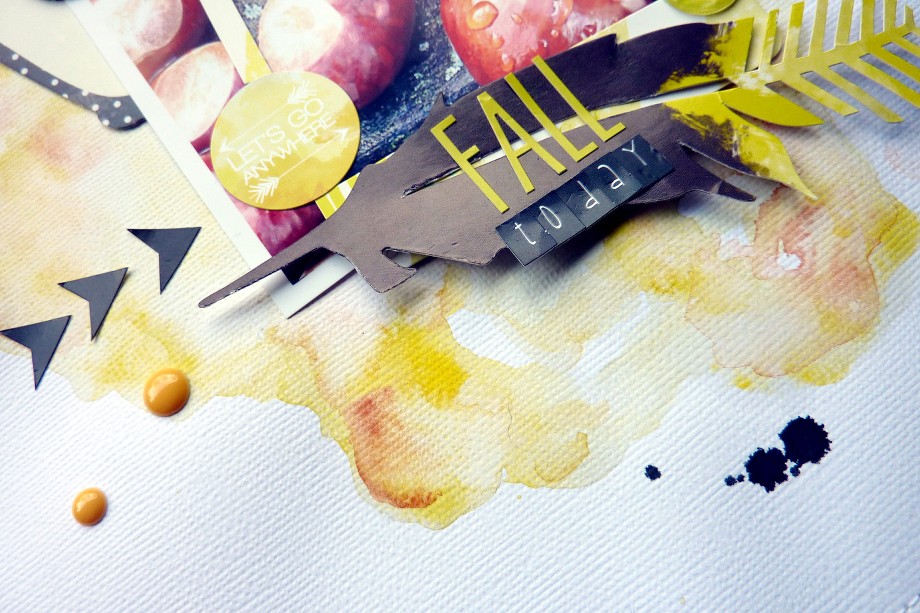
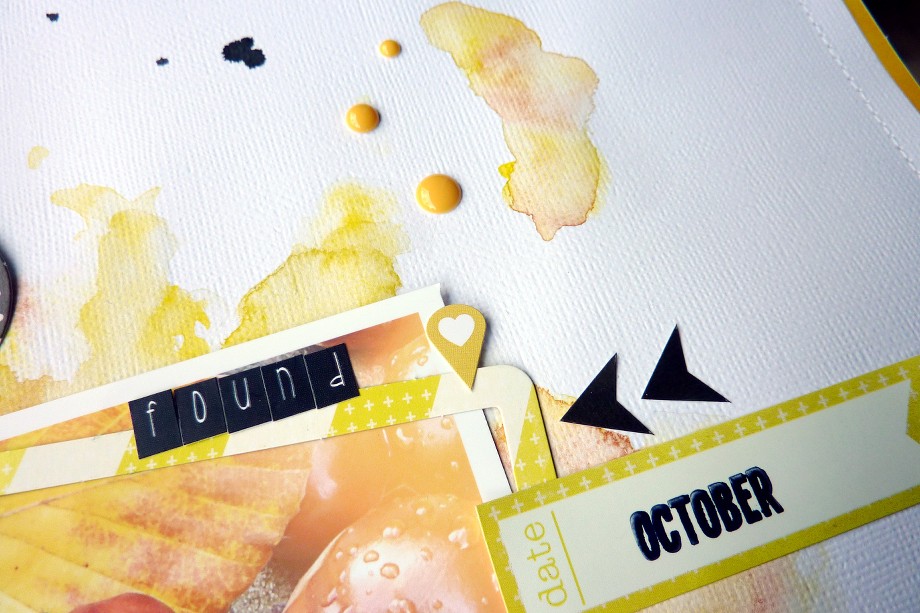


Passt perfekt.

Turned out very well.


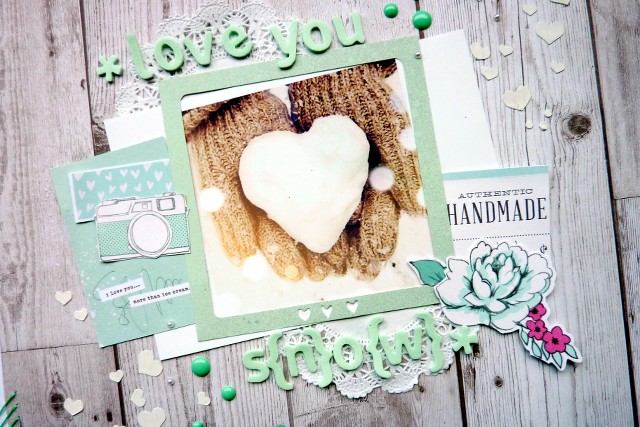
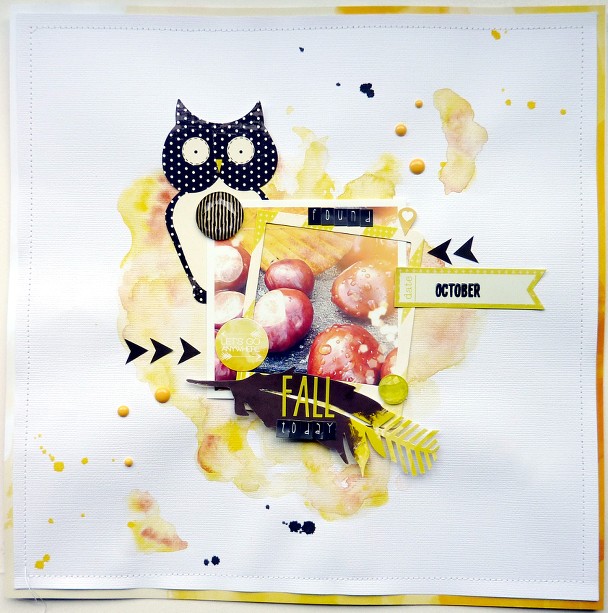
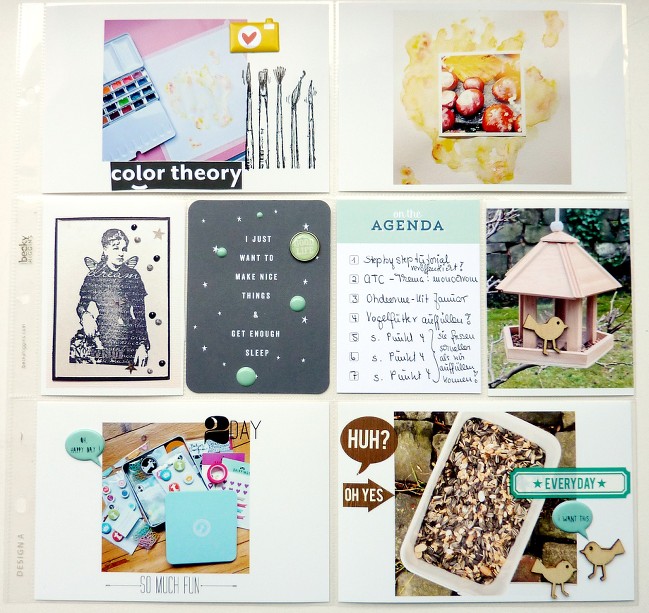
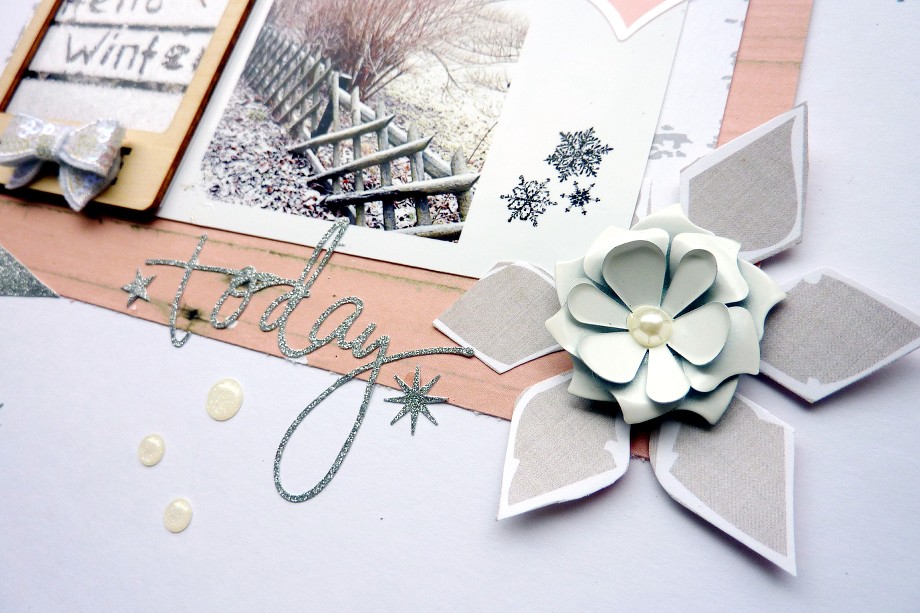
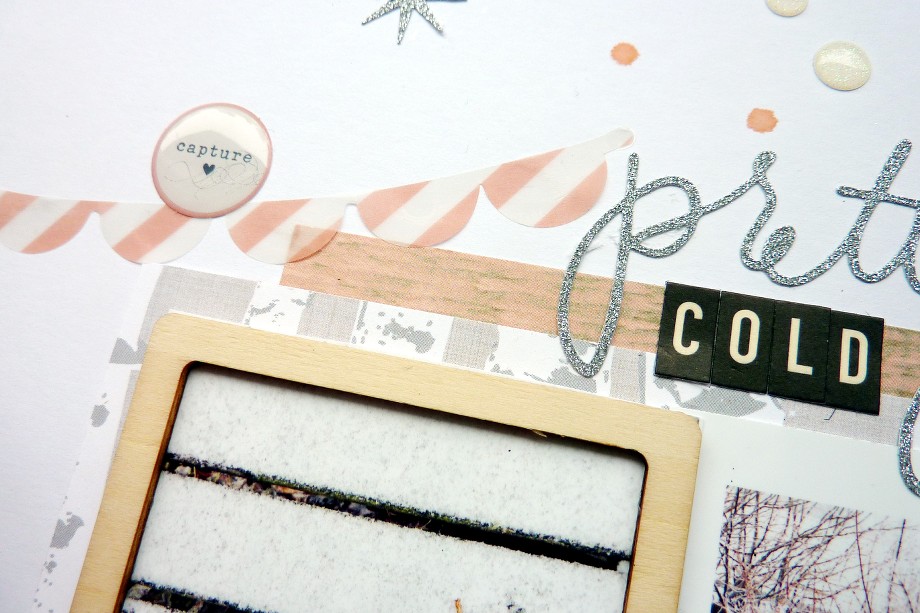
Und noch einmal mein fertiges Layout:

And here's my layout:


Ich hoffe, die Anleitung hat euch gefallen. Danke fürs Ansehen.

Hope you liked my tutorial. Thank you for watching.


Montag, 27. Januar 2014

* Project Life Woche/Week 3 *

4 Kommentare
Meine Doppelseite für Woche 3 ist fertig  geworden.
Ich habe verschiedene Project Life Kits von Studio Calico benutzt .
Ich nehme ja gerne meine Instagram Fotos und drucke sie in 10x15cm aus. Da bleibt schön viel Weiß zum dekorieren übrig.
Diesmal habe ich mit Staz On auf die Fotos gestempelt, was sehr gut funktioniert.

My Project Life spread for week 3 is finished.
I used different Studio Calico PL kits. I love to use my Instagram pictures and print them in 6x4 size with much white space left for decorating.
This time I stamped on my pictures with Staz On which turned out  very well.


Hier habe ich einen Stempel und ein Rub On benutzt.
Here I used a stamp and a rub on.


Hier links noch einmal zwei Rub Ons. Ich hätte nicht gedacht, dass die auf Fotos so gut funktionieren.

Two more rub ons on the left side. Didn't think that they would turn out so nicely on a picture.


Material/Supplies: Page Protectors (Betty Higgins), Cards (Studio Calico), Chipboard (Amy Tangerine), Clip (Studio Calico), Puffy Stickers (Skipping 5/ Twine & Ink), Rub Ons (Studio Calico/Hello Forever),
Wood Veneers (Studio Calico), Enamel Dots (My Minds Eye), Brads (Prima), Alphas (American Crafts),
Stempel/Stamps (Studio Calico/Whiff of Joy), Stempelkissen/Ink Pad: Staz On (Tsukineko)

Freitag, 24. Januar 2014

* Pretty cold today *

6 Kommentare
Nach all dem Regen und Schmuddelwetter finde ich es schön, dass der Winter Einzug gehalten hat.
Winterweiß sieht definitiv besser aus als Schmuddelgrau.
Da habe ich gleich mal die Stimmung eingefangen und auf ein Layout gebannt.

After all that ugly rainy weather winter finally reached Germany.
Love the white landscape. So I tried to capture that winter feeling on a layout.


Material/Supplies: Cardstock (Dani Peuss), Patterned Paper (Webster Pages/Fancy Pants), Alphas (October Afternoon), Wordsticker (Heidi Swapp), Banner/Acrylic Shape/Glittersticker (Heidi Swapp), Epoxy Sticker (Dear Lizzy), Resin Flowers (Freckled Fawn/Ohdeerme), Rahmen/Frame (Freckled Fawn), Paillettenschleife /Sequin Bow (Freckled Fawn), Metal Flower/Clip/Enamel Dots (Freckled Fawn/Ohdeerme), Farbspray/Color Mist (Studio Calico)

Mittwoch, 22. Januar 2014

* December Daily 16-25 *

5 Kommentare
Mein December Daily ist komplett und prall gefüllt.
Heute möchte ich die restlichen Seiten zeigen und das Thema Weihnachten somit abschließen.

I finished my December Daily.
Today I want to show you the last pages and then I'll put my Christmas stuff away til next  December.


Diese Idee stammt von Pinterest und ich musste das unbedingt für mein DD haben.:)

Found this idea on Pinterest an had to use it for my DD. :)


Traurig, dass Weihnachten vorbei ist ? Bald ist es wieder so weit. :)

Christmas is over but don't worry. There will be another one soon. :)


Material/Supplies: Studio Calico, Pink Paislee, Fancy Pants, Heidi Swapp, Webster Pages, Theresa Collins, Basic Gray, Scrapmalin, KARS, American Crafts, Crate Paper